Building My Standalone Deck At The Cabin
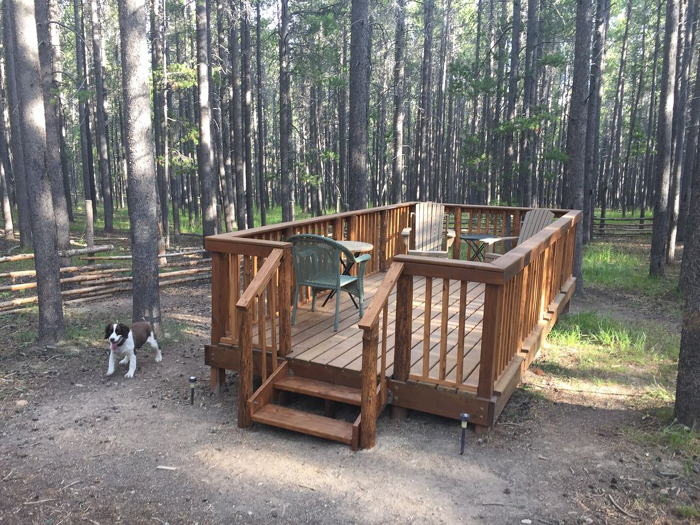
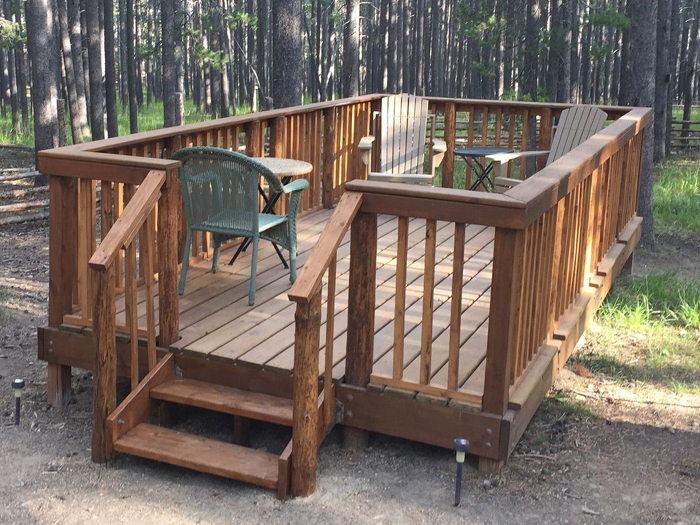
In this post, I’m going to show you the process I used to build my standalone deck at my property in the lodgepole forest near our cabin. Here is the finished deck.
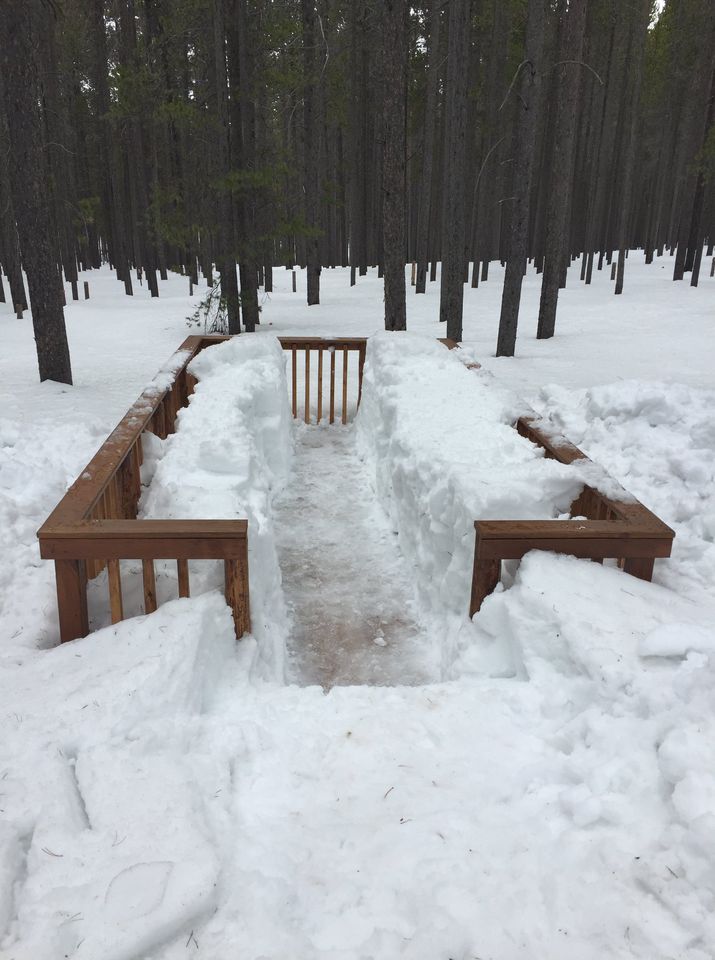
This a picture after the deck was completed. I wanted to show the amount of snow that the deck receives. Before building the deck I calculated the weight of the snow was about the equivalent of two pickup trucks. So, the pictures in this post will show what I did to compensate for the expected weight.
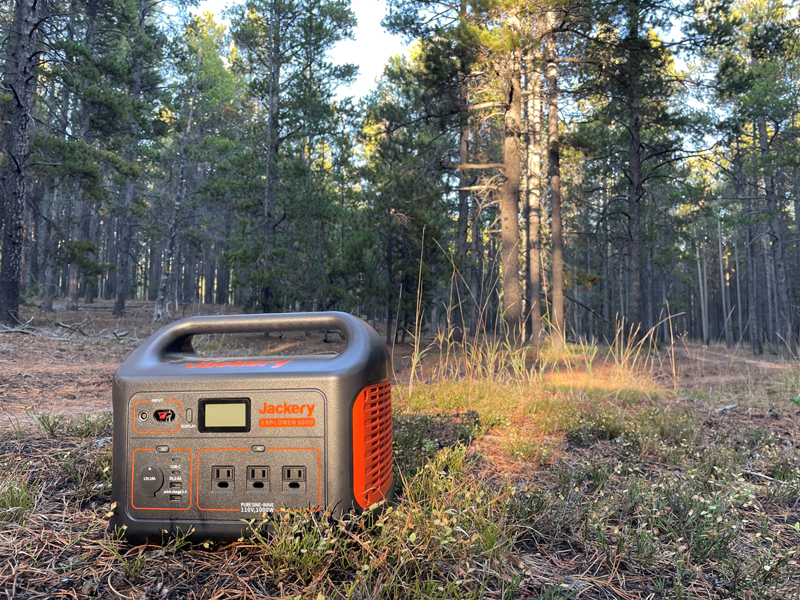
My property is off-the-grid, which is a choice to save my sanity. Any AC power tools were run directly off the Jackery solar generator. Battery powered tools were charged up from the generator. The Jackery is charged with solar panels.
1. Laying out the corner posts
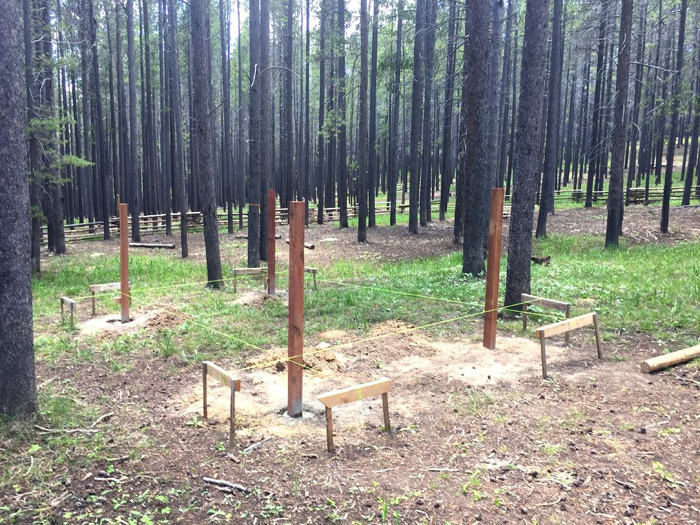
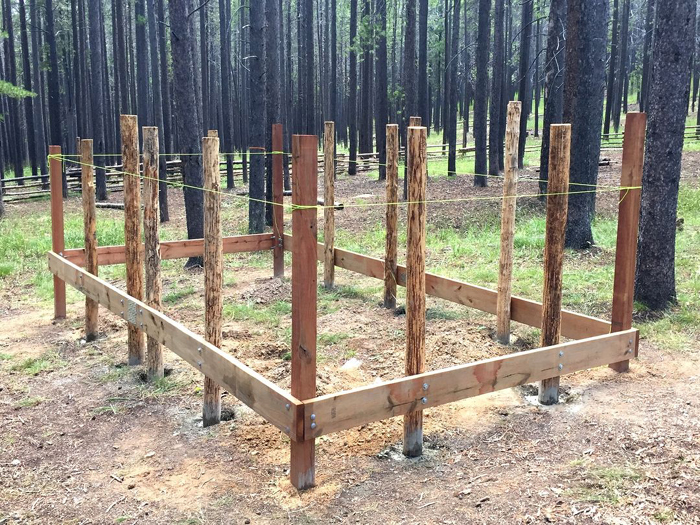
The size of my deck is 8 feet by 16 feet, which was a straightforward design due to the standard lumber lengths. It is essentially two 8′ x 8′ squares. The four corner posts are 4″ x 4″ posts. All posts are 42″ deep and set in concrete. A slope like this is a challenge to end up with a level deck. I tied Mason’s lines to battenboards and constantly adjusted them to square the layout. The lines were also used to mark each post’s height to make the deck level.
2. More posts, and the beams
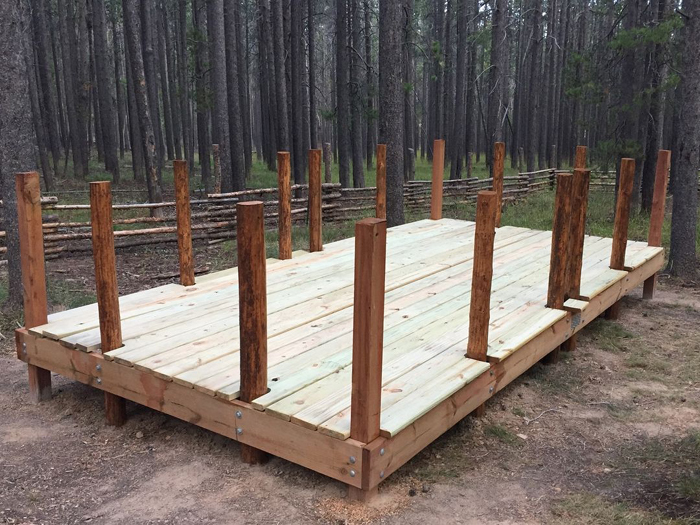
Because this site gets up to six feet of snow in the winter, I decided to add a lot of posts to support the weight. I calculated that the deck would have to support a snow load of the equivalent of two pickup trucks. The additional posts did not need to be professionally squared 4″ x4″ posts, so I cut and debarked these posts from the lodgepole pine on my property. They are also all set in concrete. Then, I attached the beams with carriage bolts.
3. Attaching the joists
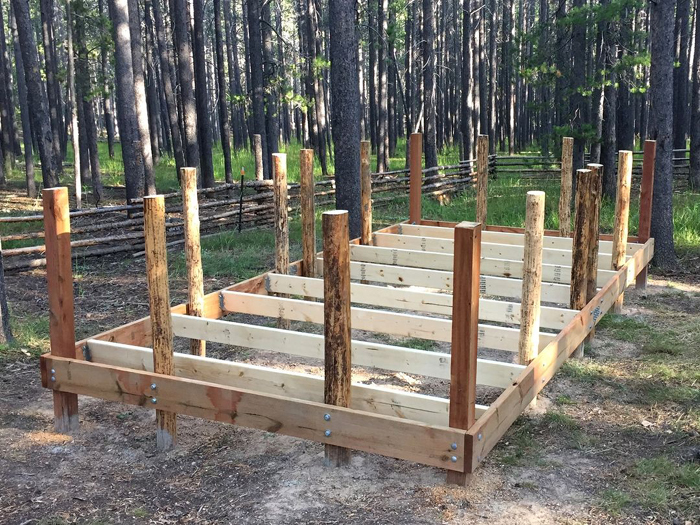
I attached the joist hangers to the beams and then screwed the joists in. The posts were then cut to the correct height with a chainsaw and the tops were smoothed off with a grinder, to insure the cap railing would lay flat across all the posts without any gaps.
4. Blocking the Joists
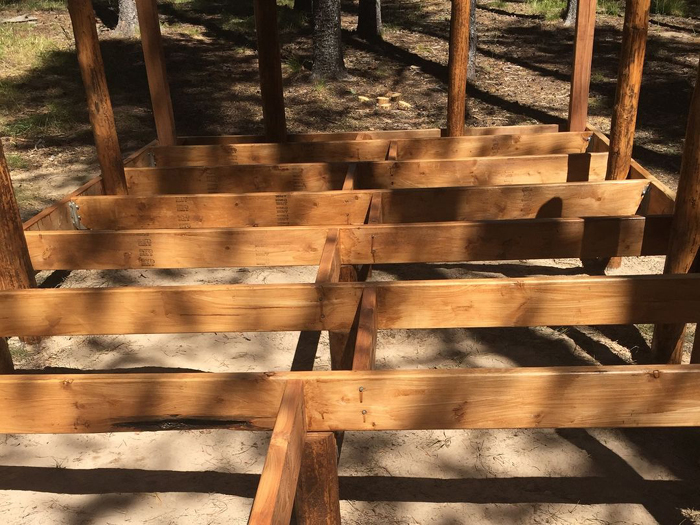
Blocking adds lateral stability to the deck frame and provides additional places to screw the decking to the joists. Offsetting the blocking makes it easier to attach the blocking to the joists.
5. Support posts under the joists
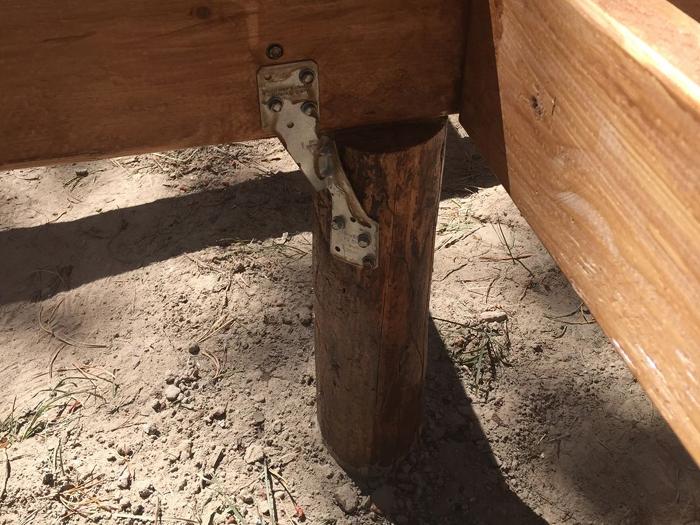
As additional support for the snow load, I placed posts under the middle of each joist, and attached the joist to the post with seismic ties. These posts are also set in concrete. I painted waterproofing stain on all posts, beams and joists.
6. The decking is probably the most visible element of the deck
I used 16 foot long decking and cut the notches around the posts with a jigsaw. This allows for sufficient drainage gap between the decking. I straightened out the wayward bowed boards by putting in one screw at a time and adjusting the gap with a prybar, then sequentially driving in the rest of the screws. Spacing between boards is important for drainage and to account for expansion and contraction of the wood.
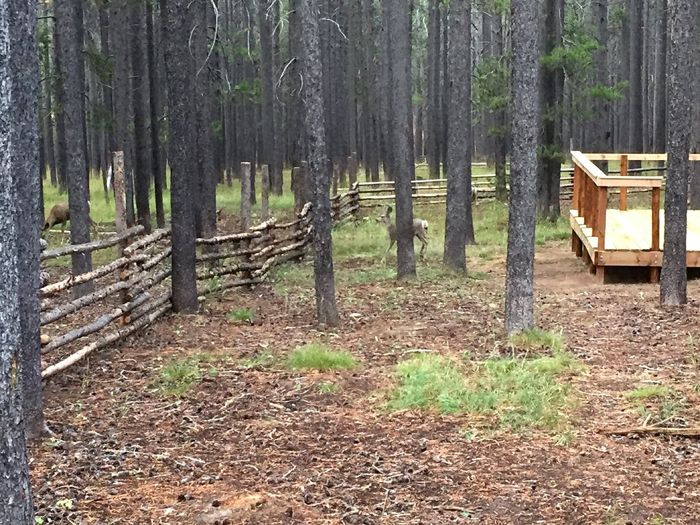
The supervisors
They weren’t exactly helping, but they kept an eye on the progress.
7. Railings and balusters
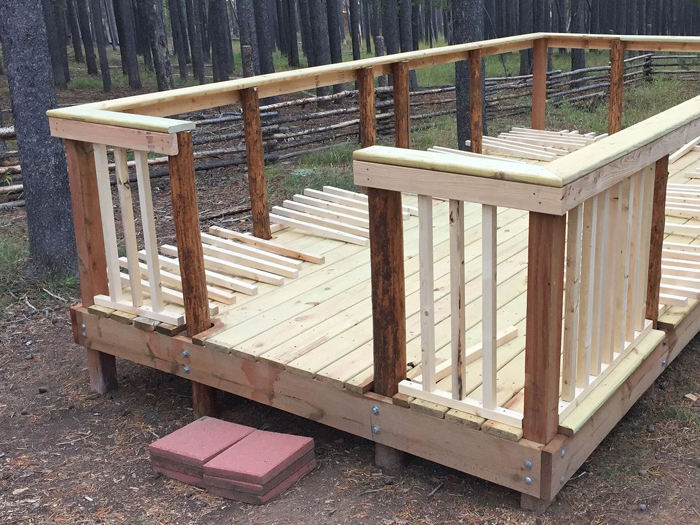
The balusters are 2″ x 2″. I calculated the spacing and the length of them, including the base plates. I attached 2″ x 4″s to the posts and used decking for the cap rail. After attaching each baluster to the base plate, I screwed the base plate to the decking on the bottom and the balusters to the 2″ x 4″s on the top.
8. Adding the steps to the standalone deck
I put in two additional posts for the steps, then attached steps, handrails and balusters to the posts and beam. After staining my new standalone deck, it’s time for the barbeque!
To get very detailed plans that include just about every possible way to build a deck and all the steps to do it, check out Ted’s Woodworking. With more than 16,000 woodworking plans, you will find something for most any woodworking project you can think of. I used Ted’s plans to construct the deck with a few modifications for my situation, such as adding extra posts to support the weight of the snow.

